Hello Everybody, Carrie here with a fun Galentine’s project I made for one of my girlfriends using the Practically Perfect Kit. I To create the base of my folio I followed the tutorial Serena Bee shared on her YouTube channel back in December, and it couldn’t have been more easy and fun to put together. I’ll link her tutorial HERE.
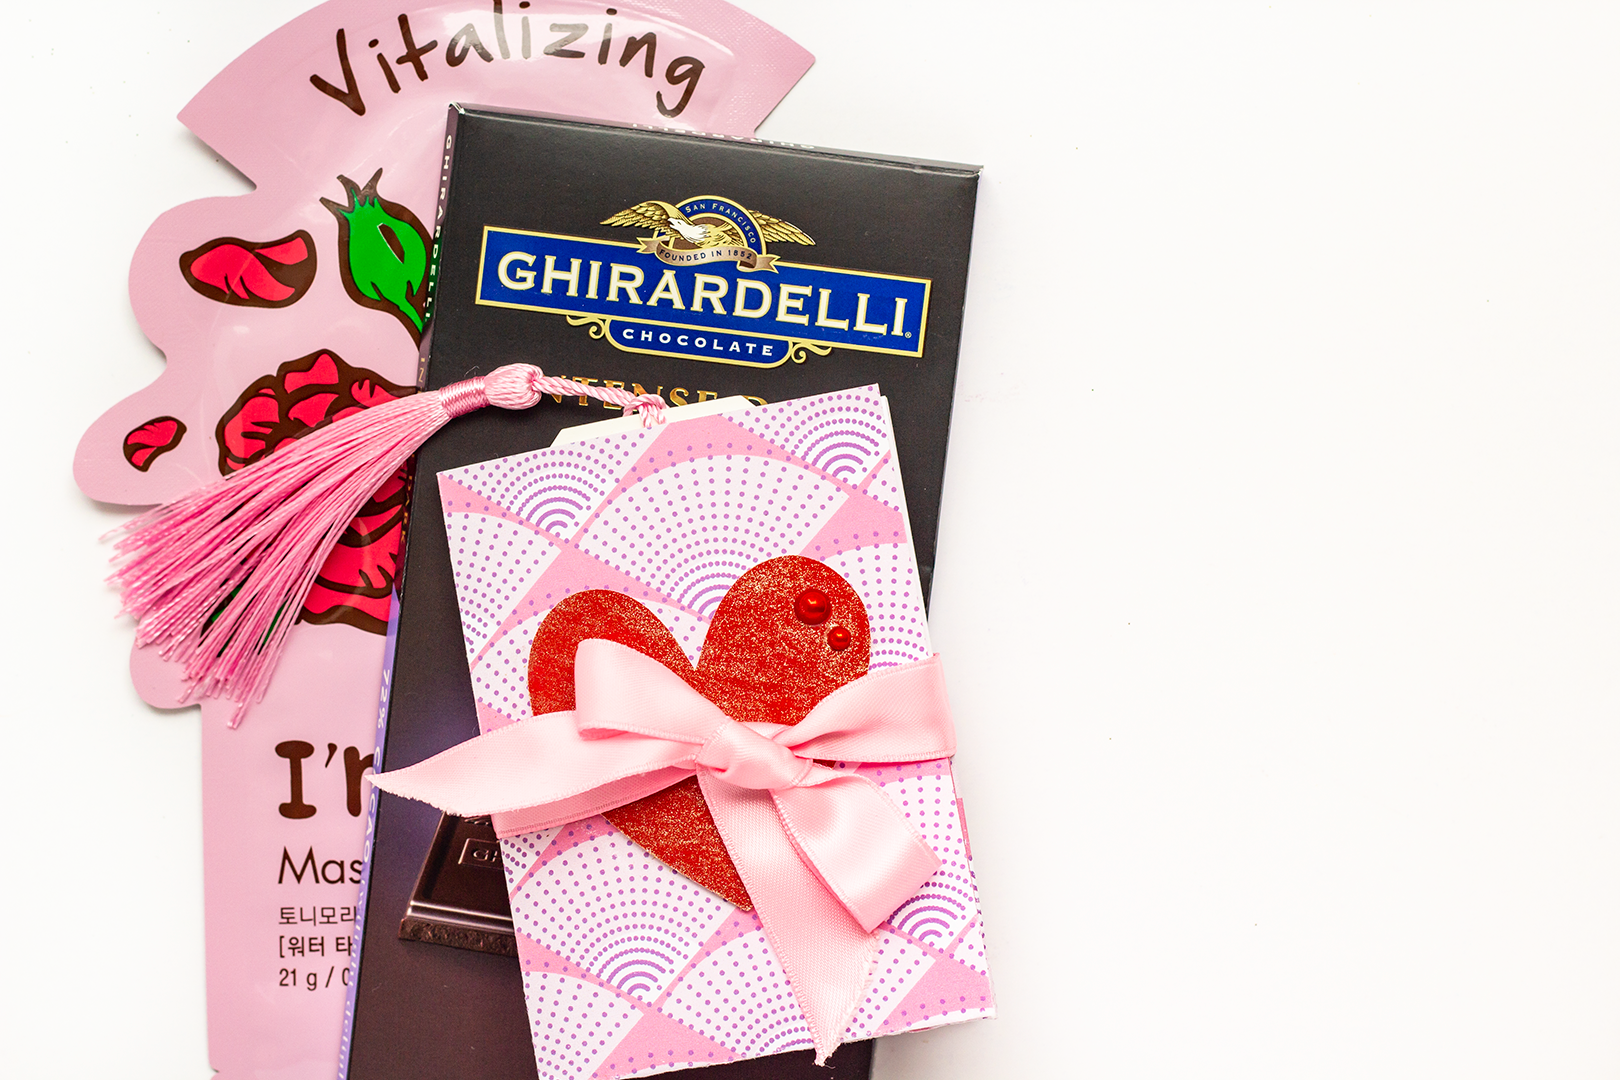
Following Serena’s tutorial I created the base of my folio using a 6x12 inch piece of this lovely fan looking 12x12 inch paper, and then added pink satin ribbon from my stash as my closure. To decorate the front I used this large red heart from the stationery pack, and popped it up with some foam adhesive. To add a little more sparkle I covered the entire front of the heart with Wink of Stella and added two red pearl dots from my stash.
This mini folio folds into four 3x4 inch pockets. For the first pocket I added the SUPERCALIFRAGILISTIC square from one of the cut apart sheets and cut down the right side just slightly so make room for the penguin from the die cut pack. I popped them both up with foam adhesive and attached them to the bottom of the first pocket. I also added two small light purple pieces of bling from my stash to this little grouping. To fill this pocket I chose the “Wonder” tag with the gorgeous pink tassel from the stationery pack, and also tucked in the Mary figure from the die cut pack. To add the pink eyelet onto the tag I simply removed the tassel, placed the eyelet, and then added the tassel back on.
For the second pocket I popped up the carousel from the die cut pack towards the bottom flap of the pocket making sure the top portion of the die cut hung over the edge of the flap for interest. I also added a little sparkle with four yellow pieces of bling from my stash. Inside the pocket I placed the frame from the stationery pack. To make it into a frame, I hand cut out the image of Mary from the inside and then placed my own photo behind it. There are four instax photos total layered in this pocket so my girlfriend can use them or store them here. To embellish the frame a little more I placed the bow flair towards the top using red line tape.
For the next pocket I decided to use the bow and “magic” both from the die cut pack. I first added the bow using foam adhesive, and then layered the “magic” under it which is also popped up. I chose another light purple piece of bling from my stash to dot the “i”, and called it good for the bottom portion. To fill the pocket, I used the purple carousel horse card from one of the cut apart sheets, and added one of my favorite tea bags in front of it.
This last pocket is one of my favorites because it holds a simple but pretty necklace. I chose the umbrella bird from the die cut pack to embellish the bottom of the pocket and added a single yellow piece of bling to the bird’s tale. Inside the pocket I placed the purple “magic” tag from the stationery pack after adding the pink eyelet and necklace. To hold the necklace in place as much as possible I used a strip of washi from my stash and attached it to the back of the tag…..and that’s it for this project. Below you can see everything taken out of the pockets. It actually holds quite a bit. In my option, the only thing missing is a movie to watch while you drink your tea, eat your chocolate, and use your face mask, lol.
I hop you enjoyed this project share, and I’ll see you next time : ) Carrie


