Solange's Gift Wrap Using Tiki, I Love You

Hey guys! Solange here with a super fun project using the “Tiki, I love you” kit. When I swap happy mail I like to go above and beyond because I believe that presentation is very important. For today’s project I wrapped up a few goodies for a penpal using the 12x12 papers in the kit. After wrapping them I just added some gold glitter tule and some pretty mint trim. To top it off I added a mermaid that I fussy cut from one of the dashboards and then also added a bunch of cute trims which gives it a really fun touch.  

image1-2.png

For the second gift, I just wrapped it using one of the papers again and then added a pretty gold doily and a butterfly that I fussy cut from the dashboards that come in the kit. I used foam tape to give the butterfly some dimension and to make it stand out! 

image2-2.png

This was such a fun and easy project and it will definitely bring a smile to the recipient. 

I hope I’ve inspired you to take your wrapping to the next level using this beautiful kit and I can’t wait to see what you guys will create. 

image3.png

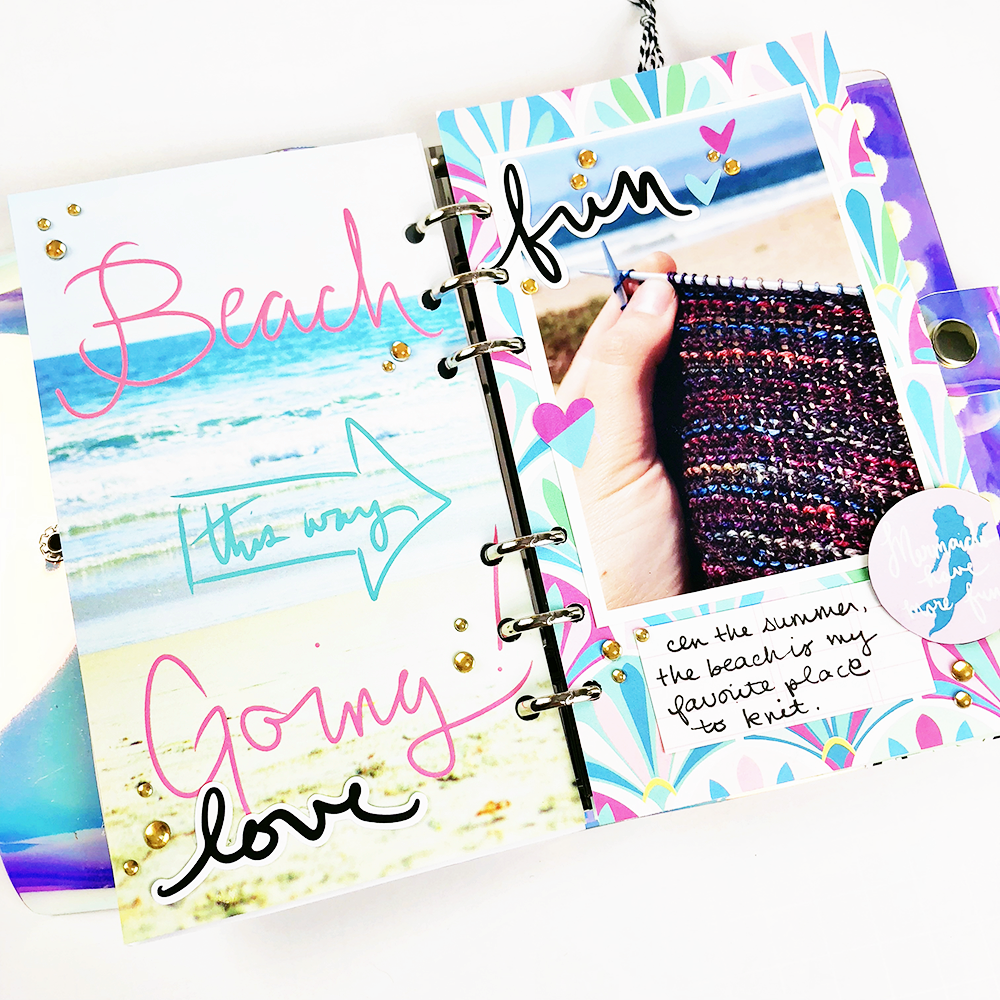
Kellie's Pocket Page Notebook with Tiki, I Love You!

Kellie here again with you to share a layout I created using the Tiki, I love you kit in my pocket page notebook.

TFC_TN_01

I literally have so many of these awesome pocket page notebooks that I have a few that are themed.  This one has been all about using the kits from The Fairytale Club.  It's so fun to look through.  It's also mainly based on my daughters, even better.  I love memory keeping in so many different forms.  I also love getting the 12 x 12 pattern papers in The Fairytale Club kits and cutting them up to 4x6 and 3x4 for pocket pages or in this case 3x3.

TFC_TN_02

One thing I'm not much of is a planner girl.  I mean I do have two planners, but not the do it up and make it pretty type.  I wish I did.  They are more like a mess, haha!  Why am I talking about planners?  Well the planner inserts are PERFECT to add into your travelers notebook and with a range of designs and quotes, you can't go wrong.  I really liked this quote and knew instantly I wanted to use it and Heidi's favourite colour is blue, so it made sense to have a photo with her in it.  So I looked over some oldie instax photos and found this one from 2015.

TFC_TN_03

Honestly I love, love the die cuts on this release.  I don't want to run out, but can't stop using them, haha.  it's a dilemma.  Also a side note, you don't always have to have summer or beach themed.  This photo was taken in our Spring time! 

Michelle's Tiki, I Love You Traveler's Notebook

Hi, everyone! Michelle here, back with another project using the “Tiki, I Love You” kit from The Fairytale Club! This time I decided to use these fun supplies to make my own pocket sized traveler’s notebook. I had some spare pleather lying around (who doesn’t, am I right?), and I’ve always wanted to try carrying around a notebook of this size, and I thought this would be the perfect way for me to try it out.

0819181722-01.png

Here are the supplies I used to put this together:


  • Pink fake Leather for the inner lining

  • Tacky glue

  • A 12x12 sheet from the “Tiki, I love you” kit

  • Clear holographic sticker paper

  • Fabric stabilizer

  • Elastic

  • A box cutter (An Exacto knife may work, I just think that the box cutter is more heavy duty, and was able to cut through the leather better.)

  • An awl

Like I said before, I knew that I wanted a fairly small notebook, so I didn’t want to make this too large. I cut the leather and paper down to 5.25” tall, and 9” wide. That way, once you add paper and inserts and folded it in half, it was only about 4” wide. From there, I adhered the stabilizer to the back of the pleather.

0819181706-01.png

I probably could have glued the paper to the back of the pleather directly, but I’ve found that when I use tacky glue, it can really warp the paper. So by using the fabric stabilizer, which is sticky on one side, it can hold the fabric and the paper together well. Once the paper and fabric were attached, and the glue was dry, I decided to add a layer of clear holographic sticker paper on top of the mermaid print. This adds a cute bit of sparkle to the cover, and it also made it less susceptible to water damage, since the sticker paper is a glossy kind.

0819181710-01.png

From there, I used the awl tool to put holes in the cover where I wanted the elastic to go for the binding, and for the closure. To determine this, I found the halfway point in the width, and put holes 0.25” to the left and right of that point, at the top and bottom of the notebook. This gives me two elastics to use to hold a notebook.

I finished this project by adding a front pocket, making a small notebook, and then adding a little folder to the back, making it easy to take sticky notes, die cuts, and washi tape on the go!

0819181711a-01.png

I’m excited to take this cute little notebook with me on my everyday adventures! There’s often a time when I need a notepad to write down a quick note, make a list of something, or maybe even to do some memory keeping. And I don’t always carry my planner with me, since it’s quite chunky. So I think this is going to be an awesome little book! Happy Planning,

-Michelle

Let's Relax with Kellie

Kellie here with you all again to share a project I made using the new Tiki, I love you kit, that is AMAZING!  I have an album that I do monthly pocket pages for that is all about ME!  I started this about 4 years ago when I noticed I had so many photos of my coffee, food, feet, books and everything else in between that never made it into the family album as I didn't want to take the stories away...  So what's a girl to do?

TFC_SUMMER_POCKETS_01

This girl started an album just on ME! Haha.  Started 6x8 moved to 9x12 and been in 9x12 since.  I do one pocket a month and then if I feel like adding something in just because I do, because WHY now?  So when I saw the Tiki, I love you kit, I knew instantly I wanted to have a pocket all about summer and the beach when I visited my bestie.  Being winter here I needed a little sunshine.

TFC_SUMMER_POCKETS_02

I mean if you have read my blog posts before you know I have a real thing for the die cuts included in the kits from The Fairytale Club.  Ugh I can't get enough of them.  That camera, CUTE!  I cut up some of the 12x12 pattern paper to 3x3 squares and that flower vellum. 

TFC_SUMMER_POCKETS_03

Now I have a pocket just about summer and my trip to always look back on.  Best of all it came together so easily.

Do you do an album just on yourself?  If you've been thinking about it, just do it, you'll LOVE it!

Aimee's "Tiki, i love you" Embellishment Pocket Page

Aimee here, sharing a pocket page using the “Tiki, I love you” kit.

mermaids 1.jpg

I love pocket pages. They are so fun and easy to make. I personally like using baseball card holder’s ones. They hold instax photos perfectly. Well the slots are larger than an instax, so the photo kinda just floats in it.

Here I have made a page without any photos. This is a first for me. But I thought this would be so cute in my album.

Let me tell you about my album real quick. I have an 8.5x11 album, that I use just for pocket pages. This is because I only make a few pocket pages a year. So, I have dividers in the book with the years on them. And when I make a pocket page I just pop it in the album chronologically. This is my very own version of “project life”. This page will get slipped into the summer of 2018, since that’s when this kit is from {really there are no rules}.

I filled the pockets with some of my favorite ephemera from the kit. I added some sequins to one of the pockets, die cuts and flair to the others. I fused them closed and then I stitched “Mermaids” on top of the pockets.

This is a really fun way to use all those extra bits and pieces!

Do you make pocket pages?

XOXO Aimee

Summer Vacation, I Love You! with Laura

Hi everyone, it's Laura here again to share a Project Life layout I created using the Tiki, I Love You kit.  I was inspired by all the wonderful other design team projects that have been made with this kit and I wanted to celebrate some of what I've been enjoying about summer before the season changes.  

Although this kit is very tropical themed, there are plenty of elements that are perfect for documenting summer activities at home.  For me that means spending time in the garden with my mom in the warm summer evenings.  

To put together this layout, I first printed a large photo at 12x12".  I love using large photos to create impact in my project life album and this one of my mom is an image I love of her.  I pulled out the die cut pack and went to work creating a column of embellishments across the left side of the page.  It only took a few minutes to adhere them down, add some enamel dots, and the layout was complete.  

Photo Aug 16, 6 07 32 PM.jpg

For the right side of the album I used a divided page protector and used elements from the kit to create custom pocket page cards.  For the top left 4x6 card I cut down an A5 planner page, added a strip of patterned paper across the bottom, and some die cut words to complete the title.  

Photo Aug 16, 6 07 16 PM.jpg

I used a cut apart sheet to create a filler card featuring the adorable bird from this kit, Tiki.  Don't be afraid to use embellishments that don't perfectly match the theme of your layout.  There definitely aren't tropical birds in my yard, but it enhances the summer feel of the layout and I love the finished project.  

I created my journaling card using some patterned paper, with card stock layered on top and finished the whole layout with a few more die cuts and enamel dots. I hope this project will inspire you to go create something summer-y with TIki, I Love You and celebrate whatever summer means to you.