A "Shaker" Layout using "Happy Day", with Andrea

Hello Everyone! It's Andrea here and today I want to share with you a lovely and fun layout that I did using the "Happy Day" kit/collection! I love "Happy Day"! It is so cute and filled with just such beautiful colors, patterns and images! So of course, it has been really fun for me to create with! I decided that one of the things I wanted to make with this collection for sure, was a cool "shaker" layout! I've made a layout like this once or twice before and it is just so much fun...so let me share with you what I did and what a "shaker" layout is!

01-Fairytale-Love-LO.jpg

So basically, a "shaker" layout is what it sounds like...it's like a "shaker" card or tag or page in a planner...it is a layout that you can shake and there are sequins in the background that move around! It is one of my favorite new things to do, to make things that can "shake" like that with the sequins. And you make these cute "shaker" pieces, with lots of sequins, of course, and also a transparency or vellum, so that you can see the sequins when you shake them. Because "Happy Day" has such a really awesome, simple but graphic, gold-foiled transparency in it, I knew for sure I had to use it for some "shaking"! :-)

02-Fairytale-Love-LO.jpg

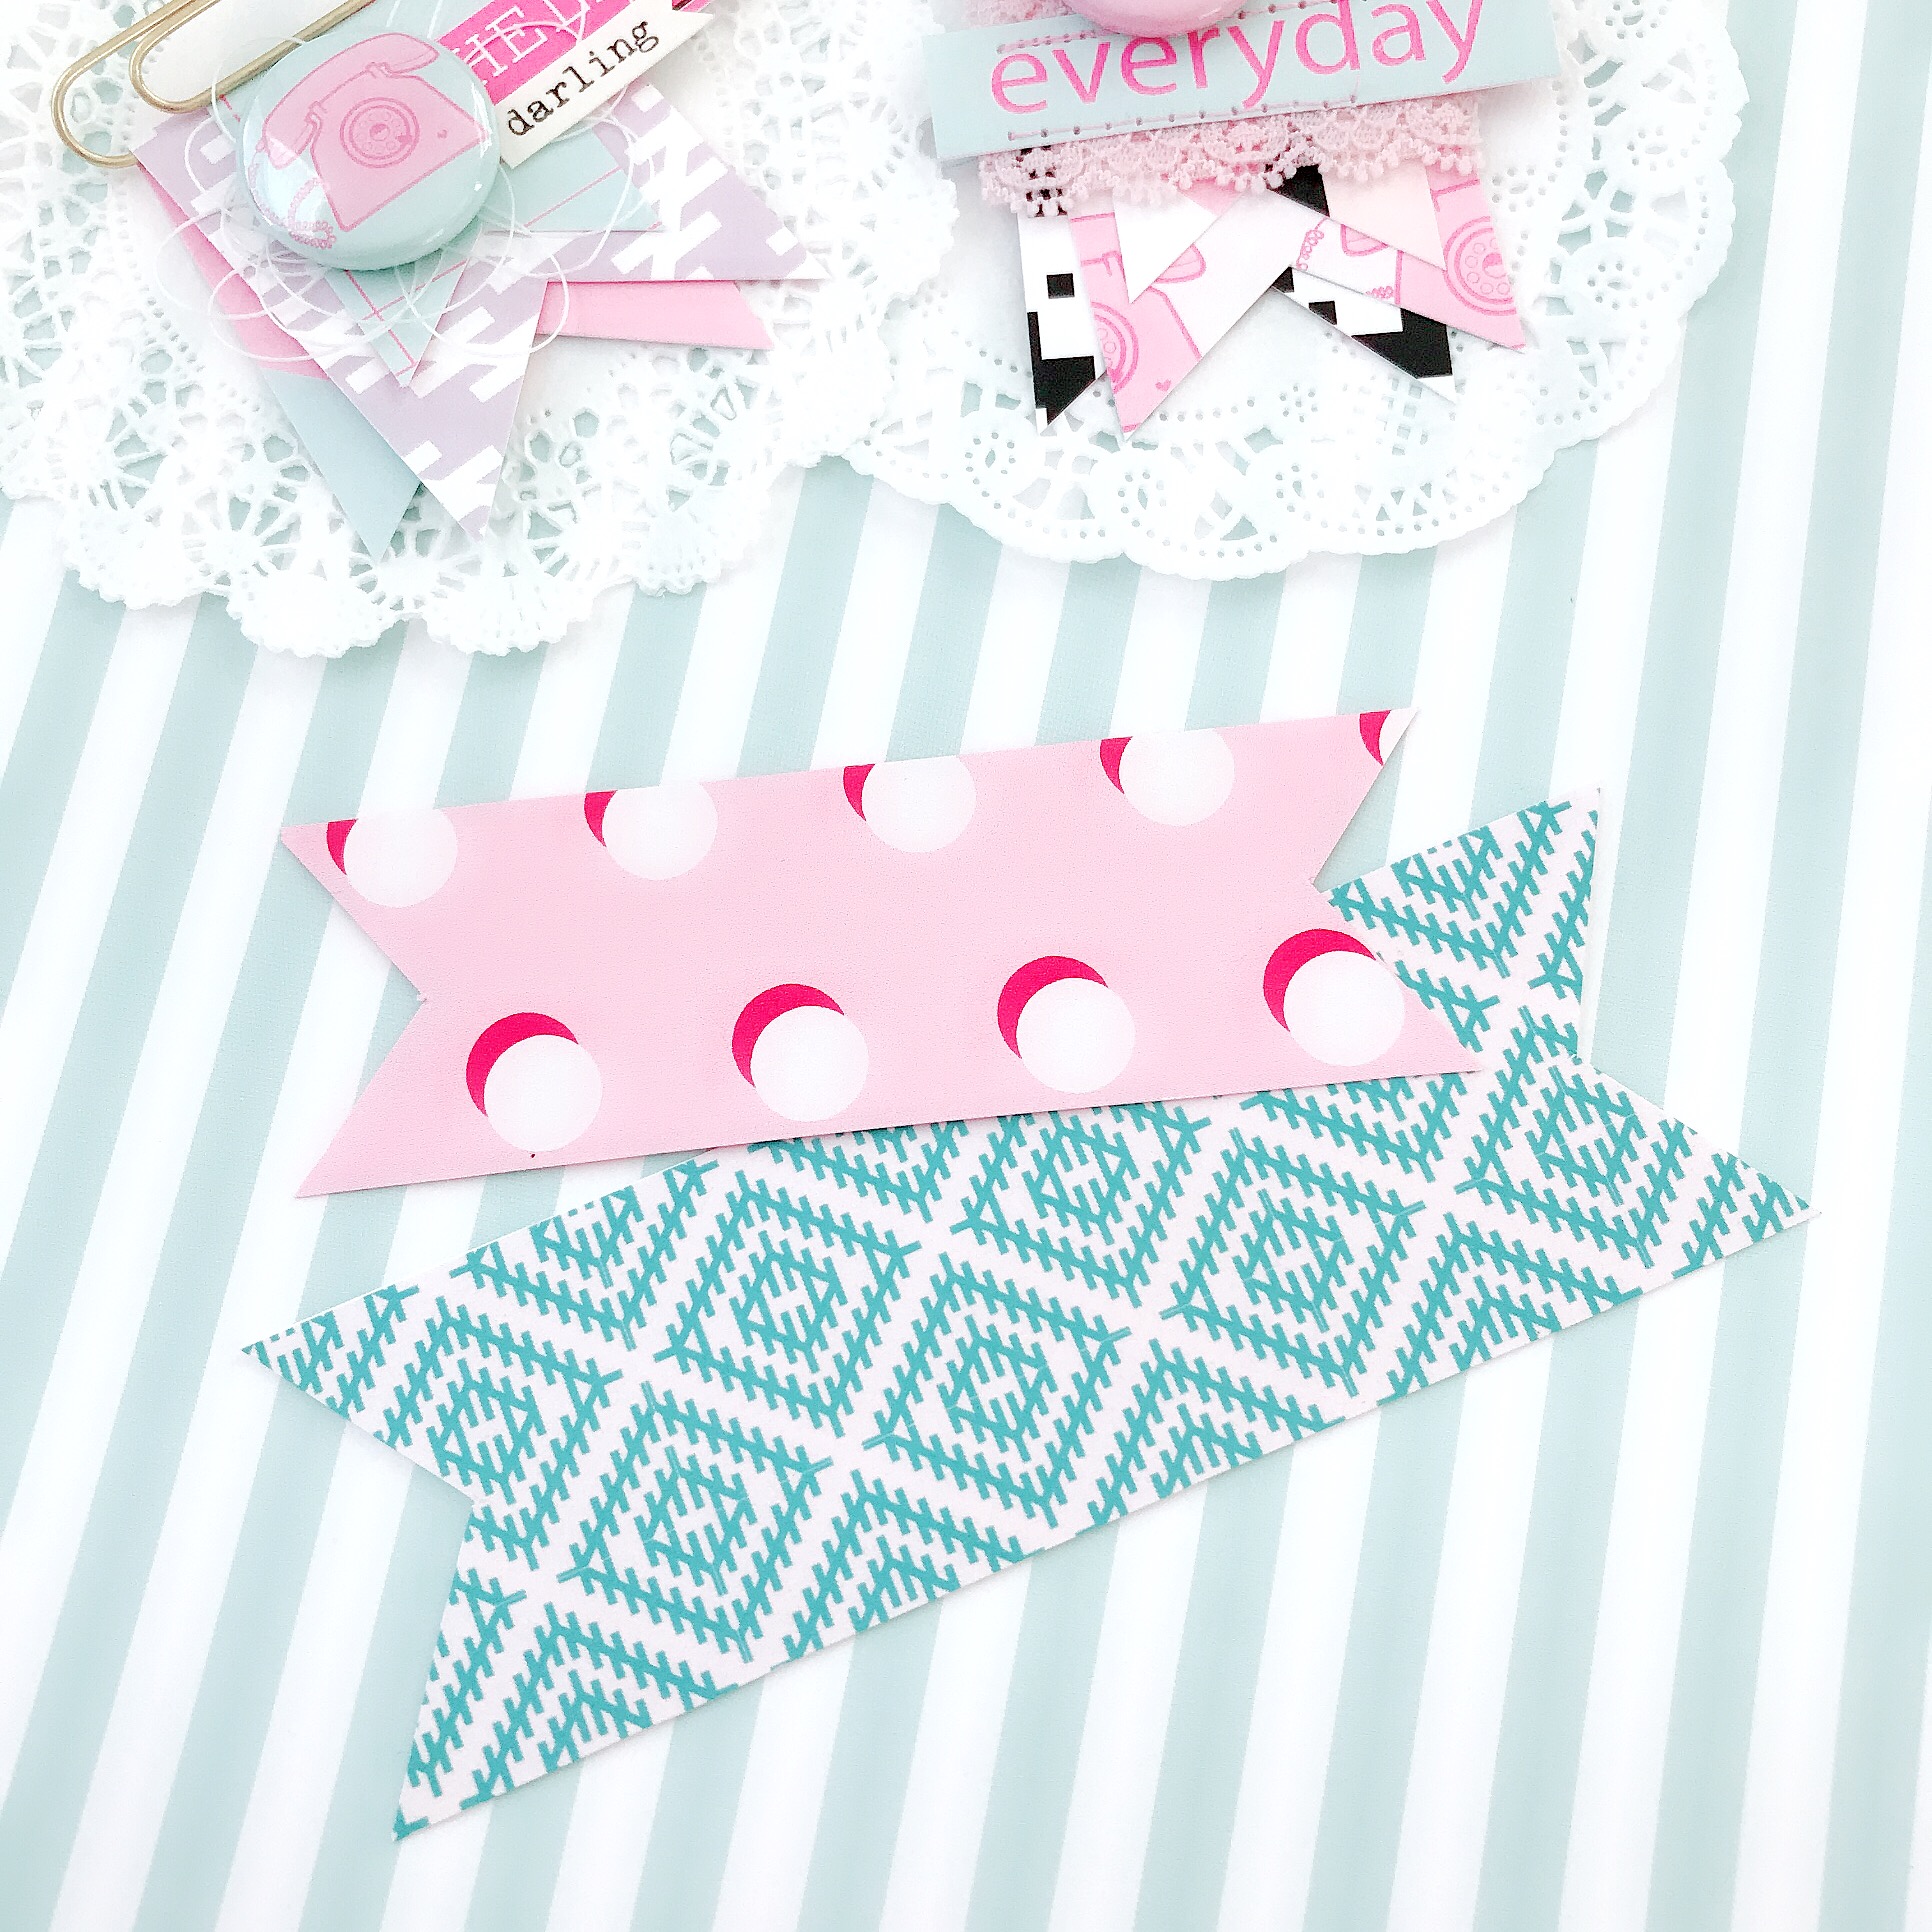
I created my layout by first using some of the gorgeous patterned paper for the background or "frame" of the layout. I chose something bold and colorful and graphic. Then, on top of that, cut just a little bit smaller, I used a simple sheet of white cardstock. I wanted to make sure the sequins had a simple white background that they would stand out against. On top of the white cardstock I poured my sequins out. I used a lot, and spread them around for a really glittery and exuberant, happy look! And then, on top of the sequins, in order to make the "shaking effect, I planned to use my transparency, to sandwich the sequins in.

06-Fairytale-Love-LO.jpg

However, before I laid my transparency down on top and stitched around the edges to close things up, I decided to add some more interest and variety to the inside of my "shaker" part of my layout, by adding in some die-cuts here and there from the ephemera pack in the kit.

08-Fairytale-Love-LO.jpg

I chose some of the little hearts and stars and words...also some other images like a flower and a milkshake...to use as part of the "shaking" background with all the sequins. Once I had those larger pieces in the position I wanted, I simply adhered them down with a little bit of adhesive to make sure those bigger pieces didn't move upon shaking. I also adhered down some of my sequins, here and there. This is a good tip when you are creating anything that shakes like this because it will make certain that things still shake, but certain areas that are prominent and that you know you always want to have at least some coverage upon shaking, will stay in place. This just tends to make things look a little nicer, in my opinion.

07-Fairytale-Love-LO.jpg

Once I got everything how I wanted it on the inside of my "shaker" part of my layout, I then went ahead and sandwiched things in with the transparency page and sewed it all down. I used a zig-zag stitch on my sewing machine, along the periphery of the transparency, to make sure to close everything up.

03-Fairytale-Love-LO.jpg

Then, on top of my "shaker", back portion of my layout, I placed my photo. I chose a really fun, cute picture of my husband, Ryan, and I smooching with our Minnie and Mickey ears on, at Toon Town in Disneyland!  Underneath the picture, I used the ephemera word die-cut pieces that said "fairytale" and "love", to create my title, "fairytale love".

05-Fairytale-Love-LO.jpg

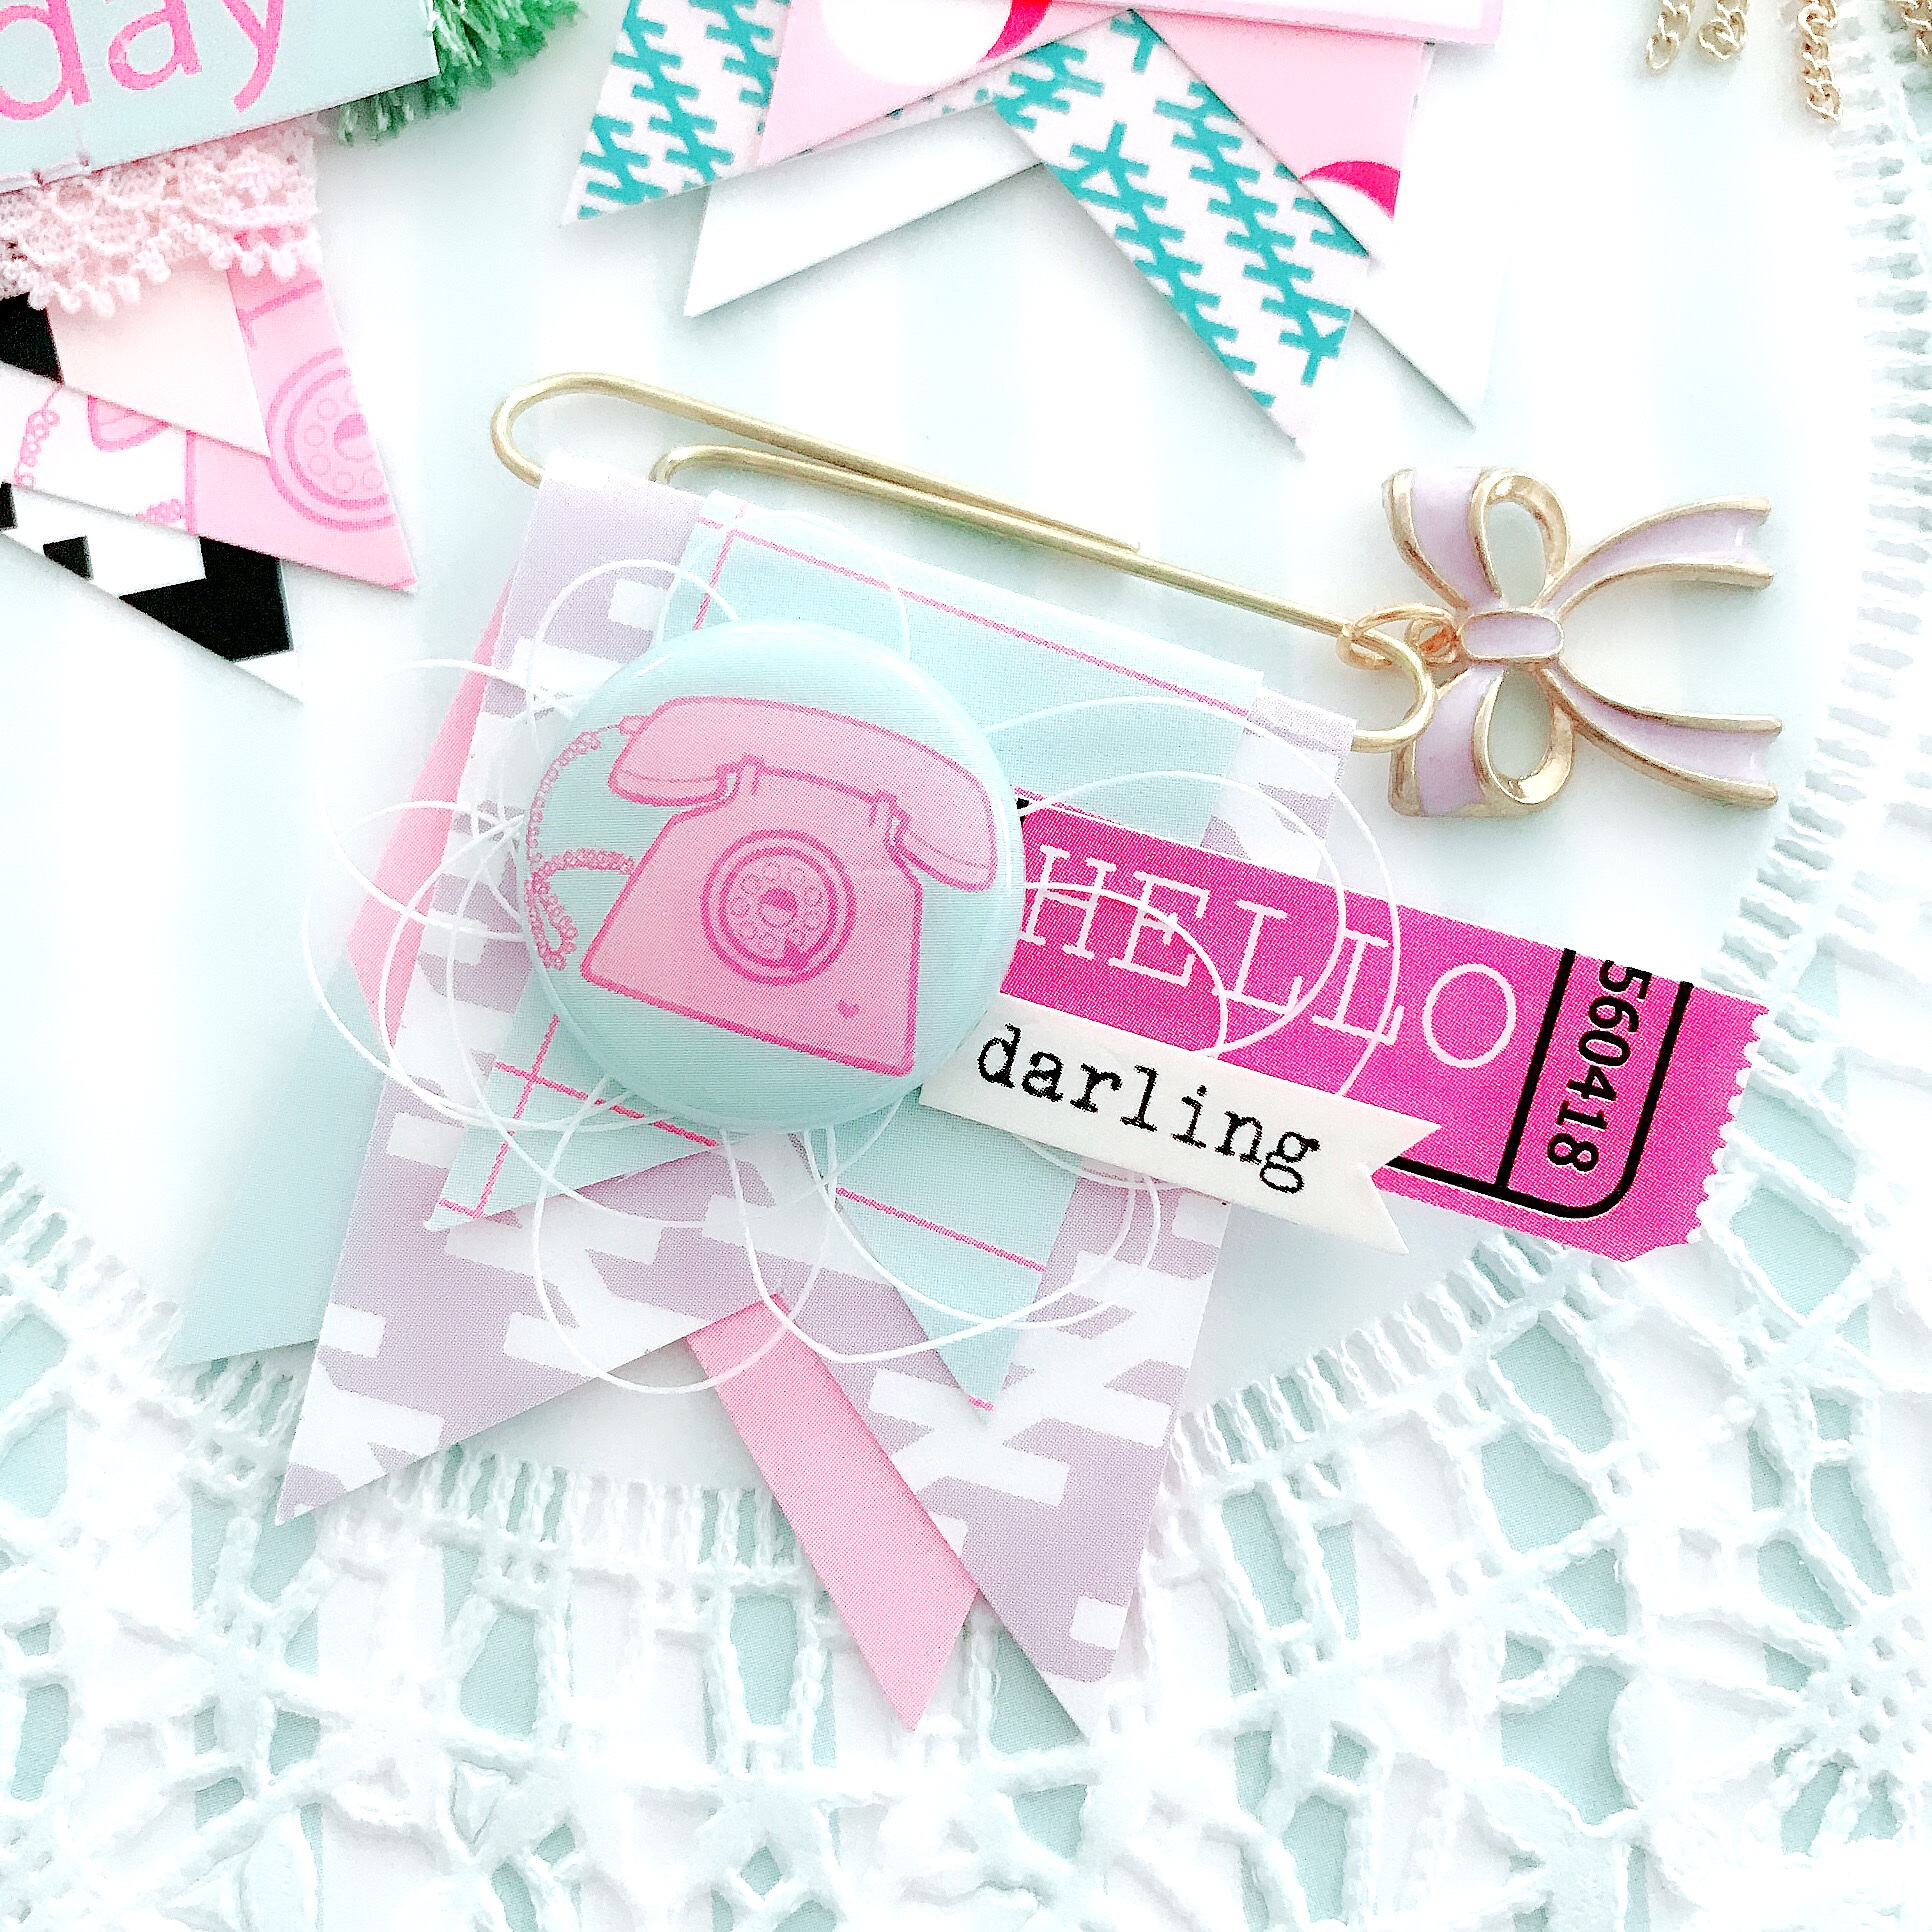
And then to wrap things up, I used a couple vintage buttons from my stash, and one of the beautiful flair pieces in the kit to add just a little more dimension in the bottom corner of the layout. At the top, I added a simple paperclip. And that was all! I didn't want to add anymore layering or any other embellishments because the background "shaker" part of the layout is really very elaborate and eye-catching...so you want to keep things fairly simple on top when you are creating a layout like this.

04-Fairytale-Love-LO.jpg

Alright, well, I think this layout turned out beautiful! It is so much fun and just a cool and fresh idea for a layout! Anyways, I hope you enjoyed it and that is inspires you to do a whole lot of shaking in your papercrafting creations...whether that is for planners, cards, or a fun layout like mine! Hugs everyone! Oh, and if you haven't gotten your "Happy Day" kit yet, get it now...purchase it or subscribe today! :-)

xoxo -- Andrea


The Fairytale Club presents "The Wonderful World of Disney" Papercrafting Party

Hello everyone!  Today I am pleased to announce the next papercrafting event hosted by The Fairytale Club and held in beautiful Downtown Disney in Anaheim, CA.

Tickets for the event will be going up for sale tomorrow morning, but in the meantime you can visit the events page for more information.  This magical, papercrafting party will be held Sunday, June 3rd, so if you live in southern California, or feel like doing a bit of traveling, mark your calendars for the event and get your ticket tomorrow morning.  Don't wait, because spots are very limited!  Hope to see you there!

"Hello Beautiful!" Sneak Peek

Hello everyone! It is Andrea here and today I want to share with you a fun sneak peek of our newest and next collection, "Hello Beautiful!" It is so, so lovely and I am super excited for you to see it!

Hello Beautiful - Sneak Peek 72dpi-04.jpg

The collection is filled with gorgeous springtime patterns and imagery. It has tons of pretty florals and adorable animals. And, as you may notice, it is inspired by my favorite fairytale -- Snow White! All of our kits/collections are inspired, as you know, by fairytales...but as usual, we have created for you a collection which can be used for many different things -- like, for example, springtime, a celebration, the outdoors, someone you love, reading, the everyday magic of our lives....etc. However, I find that this collection is perfect not just to use for those themes, and so many more, but also particularly ideal to use for documenting yourself! I love that there are so many inspirational items in this collection which are all about recognizing the beauty of who you are! I think this is something which I myself struggle with, and which many of us have a hard time with. It is so important for us each to feel beautiful! And I think "Hello Beautiful!" reminds us that we are each special because of our individual traits and likes, our actions and personalities...all the good things inside us which make us truly beautiful -- things like kindness, bravery, and inteligence! So make sure to watch for the full reveal of "Hello Beautiful!"...coming soon! And get yours as soon as you can! It will definitely remind you of what a beautiful person you are!!! Hugs!!! xoxo -- Andrea

Memory Keeping Picture Overlay with Kim

Hello, it's Kim!  After a recent trip to Arizona I had a bunch of memory keeping brainstorming ideas on how to use my pictures. One of them was a picture overlay on to pattern paper!

1april sweet-2.jpg

What I mean is that I've taken some of the beautiful pattern paper from the 'Sweet' collection and cut it to size for my travelers notebook. Then I printed out one of my pictures and a couple of digital files, the "pretty" word and the hearts with the arrow through them, on clear sticker paper and placed it on top of the pattern paper. It leaves the picture as a fantastic focal point but the script words add just the right punch.

On the opposite page , I used some packaging from the collection and on top a small vignette of paper from the kit.  The cut-a-part lady is so west coast chill!

The quick layering highlighted by a date stamp is the perfect thing to off set the other page.  Let's not forget the puffy alphas!  They did come with the kit but you can grab a set yourself from the past collections for only $5.00!! She was very smart to include double vowels and popular consonants. That way you can use them for many different projects.  

Thanks for joining me today for this quick project!

xoxox

-Kim

Adeline's Spring Planner Week Layout

Hi my fairy friends,

It’s Adeline, and today I will share with you my week layout in my Hobby Lobby planner.

1.jpg
happy days 3.jpg

For this layout I have mixed many pieces of stationery from the “Happy Day” kit, such as the project life cards, ephemera, gold foil stickers, flair buttons, washi tapes, and pieces of paper.

I created a cute little pocket with two personal size inserts, so easy to do!  You just have to cut one of the two inserts and glue it to the other insert, then punch your pocket to include it in your planner.  You can slip in important papers or just a little decoration.

I hope that you have enjoyed my post! See you soon for another planner time.

Kiss from France,
Adeline

Spring Candy Basket with Carrie

Hello everybody! It's Carrie here with a cheerful Spring themed candy basket using the Happy Day kit.

As a general rule I like to have chocolate in my house at all times lol!  So when I saw this adorable basket/purse in the Silhouette Design Store I thought it might be the perfect place to store a piece or two while still looking cute on my kitchen counter.  Plus, I have a fair few birthdays coming up and think it would be fun for holding a gift as well. The basket design ID is #63379 by Lori Whitlock. I started out by enlarging my basket to as big as it would fit on a 12 by 12 sheet of paper using my Silhouette software. Then I used a white piece of textured cardstock and ran it through my Silhouette Cameo to cut out the base. Next I took one of the planner inserts that had a blue background with polka dots and cut out a piece to layer over the front of my basket. Again, I used my Silhouette Cameo for this. The strips on the sides are from the same sheet of paper, and I measured what size they should be with a ruler and cut them down to size with my paper trimmer.  Then, I used red-line tape on the inside flaps and finished the assembly of my base.

Now that my base is complete I decided to find some flowers from the Silhouette Design Store to add to the front of my basket.  I ended up choosing design ID #198967 by Carina Gardner. It came with quite a few flowers as well as a couple different types of leaves.  Again I used my Silhouette Cameo to cut everything out. For all the leaves I chose the planner insert with a super fun pink writing paper design. The backside is a light purple and blue background with a cute kitty, so most of the leaves are pink but three of them I turned around using the purple or blue.  For the center of each of the flowers I used the same white textured cardstock for consistency.
 

I knew I wanted to use lots of color and patterns for the actual flowers to make them pop, so one is cut from a planner insert with a pink background and retro blue graphic design that reminds me of an eye. The other two are cut from 12 x 12 papers. I chose the ticket design, and and the design cut into a bunch of pieces and colors. All are super colorful and fun! Now that all my pieces are cut out it's time to assemble the flowers and decide where to place everything on the front of my basket. I love this part because I get to be creative :-) First I attached the flowers, next the fern-like leaves, and lastly the large and small leaves of the same shape. To finish decorating I decided to add iridescent Swarovski crystals to the center of each of the flowers, and tied the handles at the top together with a pink ribbon.  Now my project is all done and ready to be used!

Thanks for taking a look at my project, and I'll see you next time!
Cheers!! Carrie

"Hello Spring" Printable

Hello everyone! It's Andrea here today, and I wanted to give you this fun free printable to wish you a happy Spring!  I hope you all had a wonderful Easter-time and that you are enjoying the new season!  The printable comes in 6x8 and 4x6!  Just left-click the graphic, and then right-click and select "Save Image As..." to download it in the size you want.  Hugs, and remember to live your life as a fairytale!!!  :)

6x8

4x6

Little Paper Clips with Henny

Hello 👋🏻 and happy Monday lovelies... it’s Henny again and today I wanted to share with you these little paper clips I made for first time using various materials of papers and elements from this kit.


So what I basically do is just trim two different double sided (patterned) pieces of paper and cut them into strips in bigger and smaller sizes and pictured below.

henny7.jpeg

The bigger one measures approximately 5”x1.5” and the small one measures just slightly smaller than the bigger strip of paper. Trim a triangle shape from the ends of both strips to make banners as shown above.


Then fold each strip in half, but crease lightly at the top, leaving some room as you’ll need to slip the paperclip on later. Then fold the other smaller strip over top of the first banner. Remember, it doesn’t have to be perfect.

Slide banners over the paperclip, and then you can crease them tightly if you wish to. Next all you need to do is decorate your clips however you like!


 The cute little paper clips are so adorable, they certainly will make such cute additions in Planners, bibles, books, tags, as gifts to your crafty friends or anything you can come up with.

 I hope you have enjoyed a look inside my little project today and it gives you lots of inspiration for your own.

Until next time,
Henny