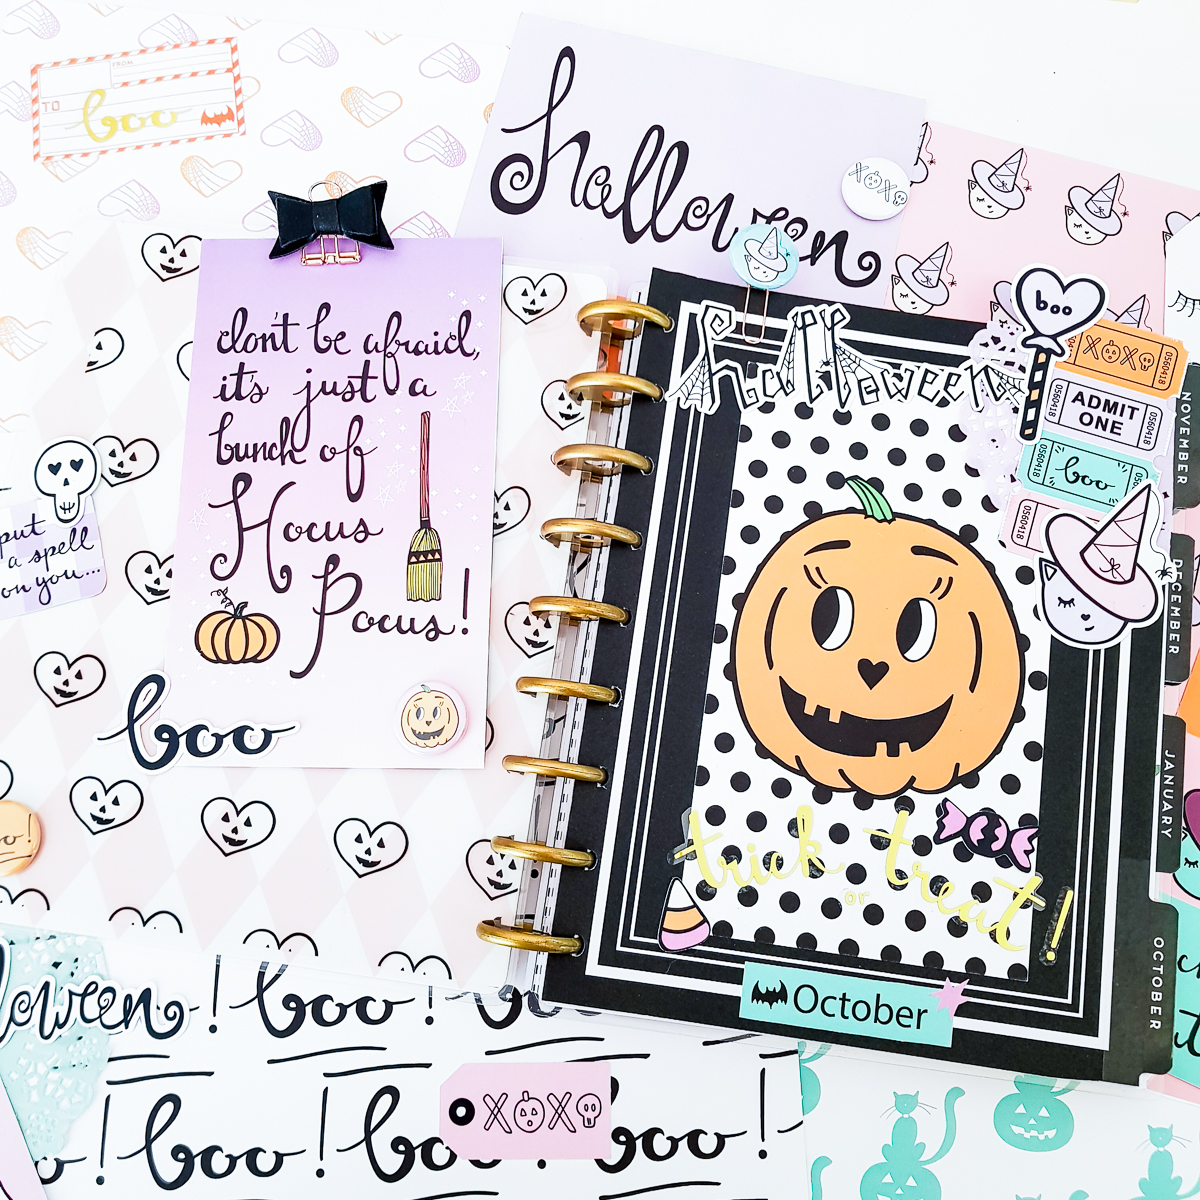
“This is Halloween” Sale! In addition to our beautiful new "Magical and Mischievous" collection that we put out for this Halloween-time, we also have a few goodies left in stock from last year's "This is Halloween" collection. So, right now for a limited time, we are having a special sale on last year’s Halloween goodies! All products from "This is Halloween" are 40% off (no code required)...and as an added, spooktacular bonus, if you also purchase a "Magical and Mischievous" kit or paper set along with your “This is Halloween” goodies, you get 15% off of that with the code "HALLOWEENSALE"! Yaaaaaay! NOTE: For us to honor the code, you must have “This is Halloween” product(s) as part of your purchase!
Oh, and here is a cool little planner project our DT member Adeline made using last year's Halloween kit...it’s so cute, right? Get yourself some "Magical and Mischievous" and some "This is Halloween" goodies today! They will totally coordinate together and look so creepy cute!!!
Hi my fairy friend,
It's Adeline today for the blog, I am happy to see you for a new post! And not just any post, but a post on one of my favorite themes. Autumn is my favorite season, and, after Christmas, the holiday I love most is Halloween! So, you guessed it! My post for today will be on this theme.
So I decided to use the kit from last year called “This is Halloween” and my Happy Planner to achieve two decorations. First of all, I made a dashboard.
For that, I cut the acetate sheet from the kit and added it to the happy planner (on the left). Then, on the right-hand side planner insert I adhered one of the personal-sized dividers from the kit (pumpkin with black on white polka dots). Then I added some embellishments like gold foil stickers, die cuts, doilies, and a paper clip done with a flair button.
Don’t you find this pumpkin so cute?
And the second thing I decided to do, and I did not do it often enough, was to decorate my monthly double page to make it really fun and boo-tiful!!!!
For that I used some die cuts from the “This is Halloween” kit and also some regular stickers and some gold foil ones .
I created a little Halloween Bucket list which is :
“Watch Hocus Pocus” - I love the Sanderson sisters, don’t you?
“Drink a pumpkin spice latte” - It’s not traditional in France, but I want to taste it.
“Read a magic book” - They’re my favorite.
I hope you enjoyed this post, and I cannot wait to see you for the next Halloween-themed post with the new kit “Magical and Mischievous.”
Kiss from France,
Adeline


