Aimee's "Tiki, i love you" Embellishment Pocket Page

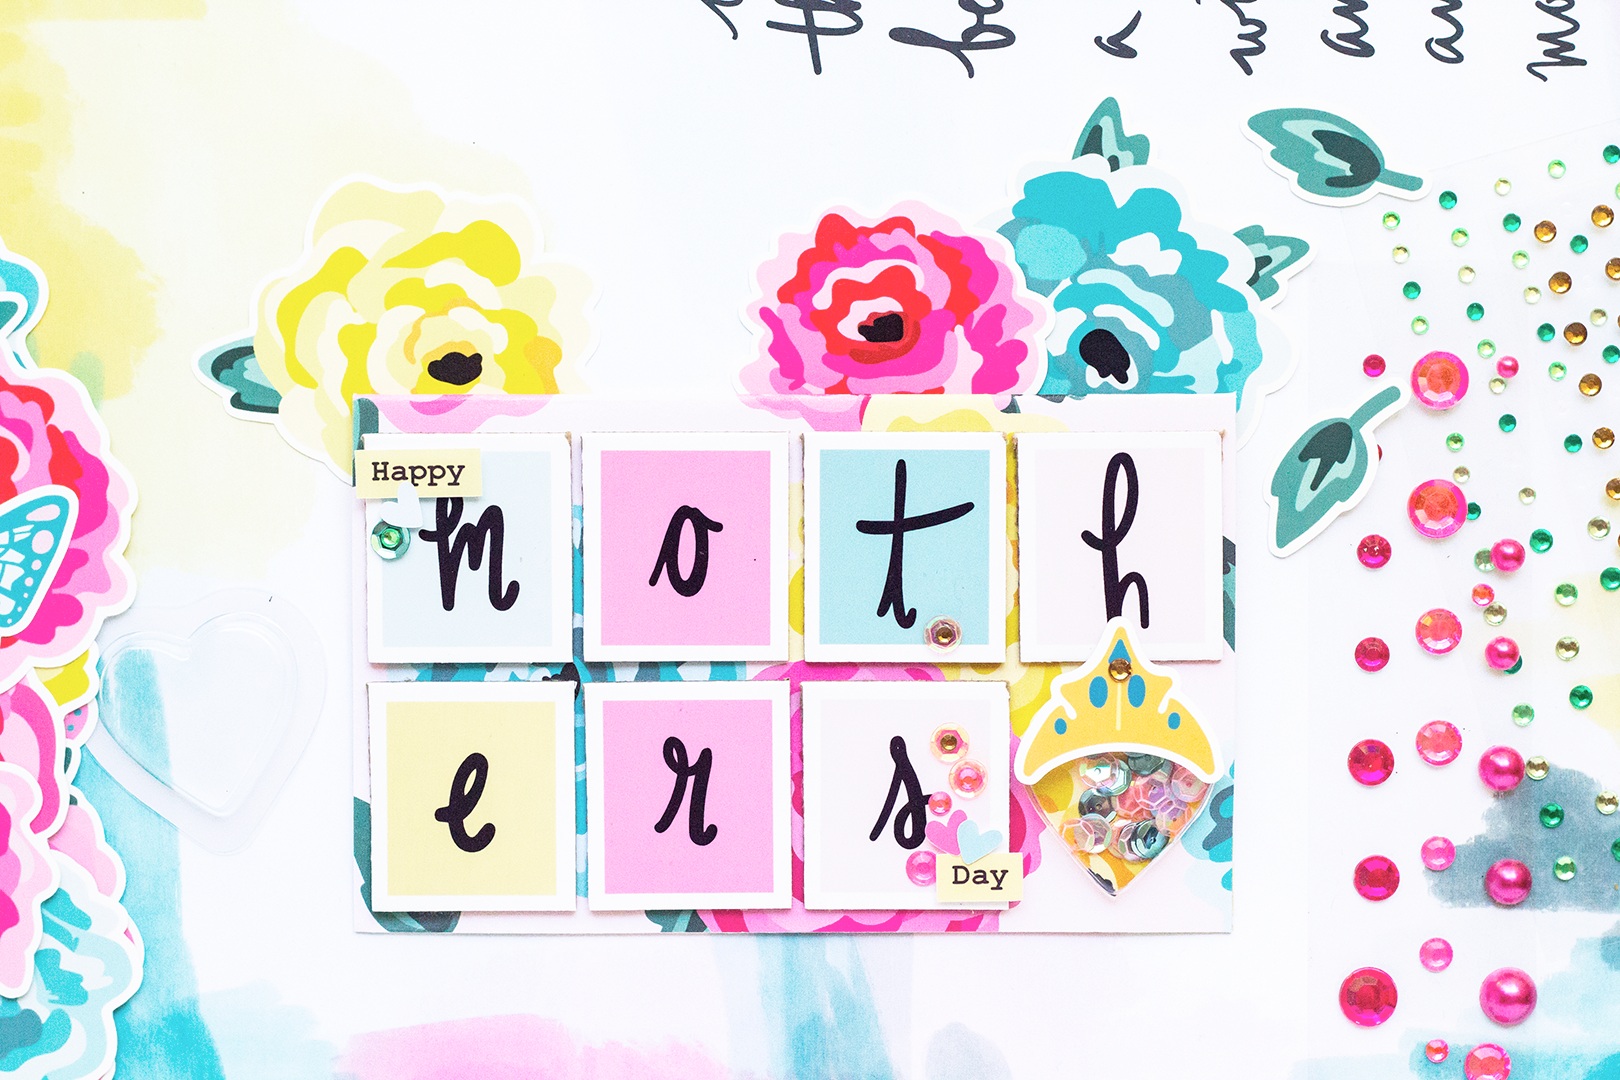
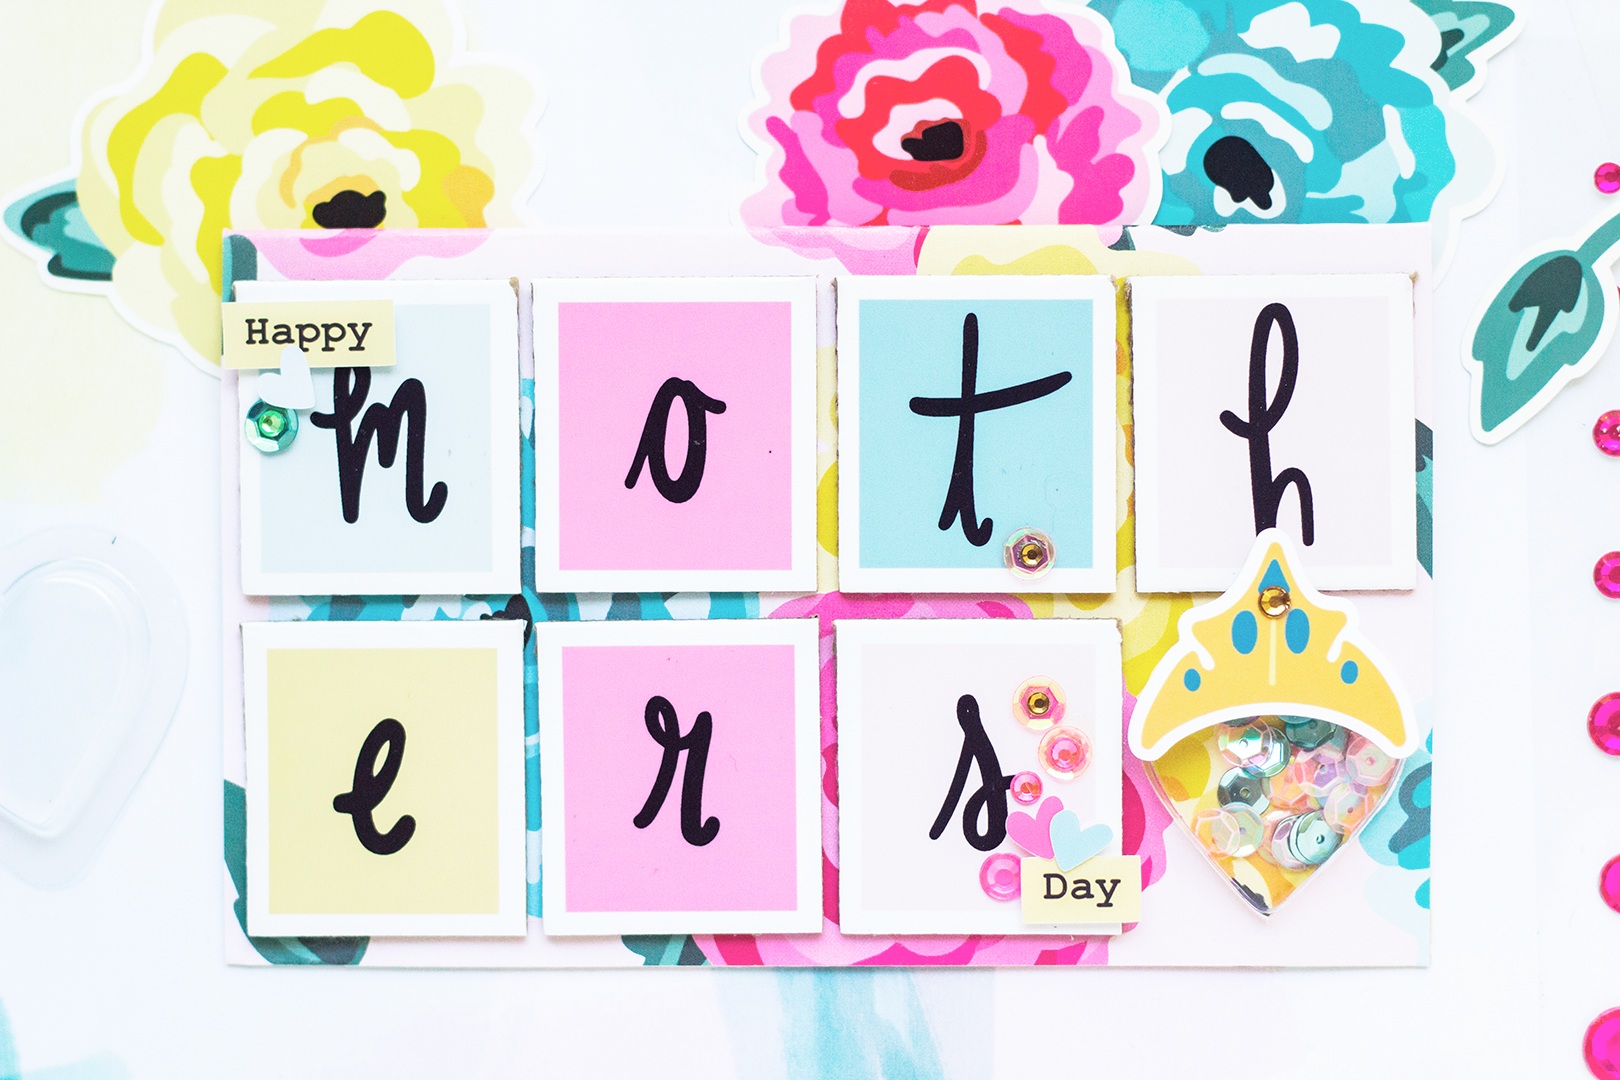
Aimee here, sharing a pocket page using the “Tiki, I love you” kit.

mermaids 1.jpg

I love pocket pages. They are so fun and easy to make. I personally like using baseball card holder’s ones. They hold instax photos perfectly. Well the slots are larger than an instax, so the photo kinda just floats in it.

Here I have made a page without any photos. This is a first for me. But I thought this would be so cute in my album.

Let me tell you about my album real quick. I have an 8.5x11 album, that I use just for pocket pages. This is because I only make a few pocket pages a year. So, I have dividers in the book with the years on them. And when I make a pocket page I just pop it in the album chronologically. This is my very own version of “project life”. This page will get slipped into the summer of 2018, since that’s when this kit is from {really there are no rules}.

I filled the pockets with some of my favorite ephemera from the kit. I added some sequins to one of the pockets, die cuts and flair to the others. I fused them closed and then I stitched “Mermaids” on top of the pockets.

This is a really fun way to use all those extra bits and pieces!

Do you make pocket pages?

XOXO Aimee

Lilly's Pen Pal Pocket Letter

Hey guys, it's Lilly! Welcome back to another blog post showing you guys one of my creations using the "Hello Beautiful!" collection.

This time around I created a pocket letter which completely brought me back to why I started crafting to begin with. There's something about pocket letters that make them so fun to create. Filling up the pockets and creating shakers is my favorite part.

So you guys can see I decided to stick with that royal blue in the collection to make the pocket letter stand out.  I added little extras like enamel dots, a pretty yellow bow, and pom poms to give it some dimension.

I love to layer, so I definitely incorporated that as well. I created a double shaker pocket with sequins to match the collection for a little hint of glitz.  Who doesn't love a good sequins mix? ;-) I also covered the fuse lines with some pretty gold trim..

The last few things I did were to cover the side with some pretty gold hearts washi and add a pretty tassel which has a variety of things on it from a tube of poms poms to some of the ephemera pieces and, of course, trim. And one one of the pockets I decided to add the flair buttons because I think it's cute to add embellishments to the front of pocket letters as well.  ;-)

Well that's it for this post you guys!  I hope it inspired you to create a pocket letter for one of your special pen pals.  See you soon!

Lilly's Tag Flip Book

Hey guys!! This is Lilly coming to you with my very 1st design team project!! Yay!!! "Hello Beautiful!" has def made me step out of my comfort zone. I don’t normally use reds and blues in my creations... But you guys, I love how it turned out, and I hope you guys do, too.  I decided to create a tag flip book since those are always so much fun to make.

So for the first tag I used the white and black polka dot paper and inked the edges with pink because I love doing that to a bunch of my projects. I added a mint green doily in the center to give it a pop of color, then placed the the die cut words “hello beautiful“ on top and also added some ephemera pieces. I took 2 butterflies and sewed them together for some dimension. I almost forgot! I also sewed a zigzag line all around the tag - I just liked how it looked. To finish the tag off I added some enamel dots and bright yellow pom pom trim..

Next tag I decided to go with a sewn tulle shaker because it’s quite popular in the crafting community, so why not.  I used the pink with red roses card stock because I love it so much and it stands out. Finished it off with a cute bow and a Pom Pom in the middle and the die cut word "fairytale."

Tag #3 is a pocket I created with the gold foiled vellum sheet and added two ephemera pieces to decorate it .. I also added some gold sequins to the middle of the rose. Doesn’t it look so cute??

Tag #4 I used the lovely deer paper.  I also inked the edges like all the other tags and decided to give a pop of color using royal blue crepe paper, some rhinestones, and a bow ephemera piece. Then I added a mini doily and placed the big deer on top. Finished it off with enamel dots and the word "beautiful."

The last tag is pretty simple but I still love it so much!  It’s using the script card stock paper, with one of the card stock cut-aparts and a mini yellow doily sneaking behind.  Finishing touches are word cut aparts and some enamel hearts..

Well I hope you guys enjoyed my 1st project! Stay tuned for many more.. Happy Crafting you guys!