Michelle's "Hello, Beautiful!" Greeting Card

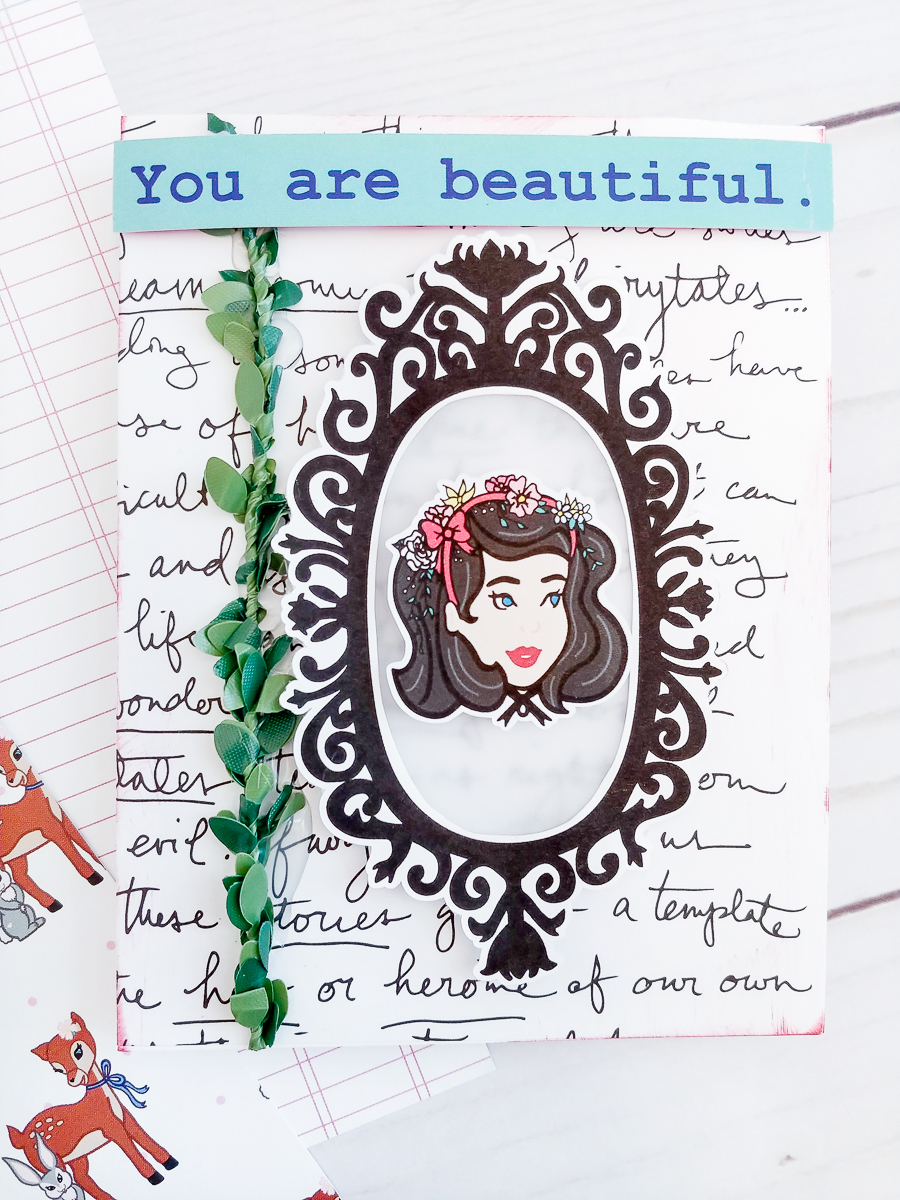
Hi there, crafty friends! I recently got inspired to make a bunch of greeting cards, and I’m happy to share this one with you using digital printables from the “Hello, Beautiful!” collection from The Fairytale Club. A friend of mine recently started graduate school and her first week was a bit rough, and I knew that a whimsical card is just what she needed

She and I have been friends for a long time, and we have a lot in common. But one of the things we differ on is a love of sparkles. As for me, I can’t get enough, but she’s not so into glitter and girly things like I am. I remembered that the “Hello, Beautiful!” kit had some black and white elements that I could layer to make a pretty card.

0911180948a-01-01.jpg

I wanted to keep this pretty simple, so I didn’t add too many elements or color, and I knew the “Fairytales” paper would make the perfect background. Also, I thought that vellum inside the frame would be a great way to kind of block out the text a bit, but not completely, and I love that look. Finally, I added that bit of leaf trim on the side and voila!

0911180949-01.jpg

I love how this card turned out and I can’t wait to start another very soon!

-Michelle

Dianna's Weekly Planner Spread

Hey there friends! It’s Dianna, back with my weekly planner spread using the Hello Beautiful kit!


I used the pretty pastel papers to create this lovely spread! Aqua and pink are my faves so I concentrated on those shades and some black polka dots! It’s a great combo!!  To make this planner spread I cut out my paper to fit the dimensions of the boxes in my weekly planner insert. It was super easy and I just used my tape runner to add adhesive to the back of the paper and glued it in place!  I love the ledger style paper. It  worked perfectly to add some of my to-do’s. 

I also cut some of the paper into strips to look like washi tape and layered it in a couple of places.  To make the paper clips I simply hot glued the flair button and bow die cut to some gold paper clips.


A few embellishments from the die cuts and sticker sheet and all done! Oh, and I added a little layering on the edge with some ruffle lace too! 


Hope you like it! Have a beautiful weekend! 💗 
 

Making a Greeting Card with Michelle

Hi there, crafty people! Michelle here, back with another fun project using the “Hello Beautiful!” kit! For this project, I made a greeting card to send to a dear friend of mine.

As I wrote in my last post, I recently went on a vacation with my husband to Portland, Oregon. While we were there, we went to an Asian supermarket! The were aisles filled with different and unique kinds of snacks and beauty products that I’m sure I wouldn’t be able to find in any other store. A particularly fun section was the bookstore, with all of its pens, stationery, and books! I ended up getting quite a few things for myself and things to give as gifts to friends. And what goes better with a gift than a handmade card?

For the cover of this greeting card, I started out knowing that I wanted to use the red lined ledger paper, and a strip of the rose “Enchanted Forest” pattern. From there, it was all about adding elements that I thought went together really well! I loved the idea of using the ephemera that looks like a letter to Snow White on the front, plus some of the other ephemera bits. I really wanted the “hello” tag to stand out from the rest of the card, so I layered it on top of gold glitter paper (because who doesn’t love a touch of gold glitter?) and a mounting square, to really set it apart.

For the inside of the card, I couldn’t just leave it plain! One of the many things I love about these kits from The Fairytale Club is the little strip at the bottom of the 12x12 sheets that you can cut off and use! So I decided to do that for the left inside bottom of the card. I cut off the decorative strip that had those beautiful vines, added the bunny ephemera piece, and finished it off with “You are beautiful”, which was another of those pieces at the bottom of a 12x12 sheet.

For the opposite page, I knew that I wanted to use Snow White somehow. I fussy cut her out of a larger piece, and it fit just perfectly at the bottom of the “You are my favorite!” tag! I originally punched out a hole in the greeting card where I was going to tie the tag to the card, but I decided I liked the look of the bow at the top better, so that’s how I finished it off!

It has been so fun to bring you these projects from the “Hello Beautiful!” kit, and with the reveal of the next kit so close, I hope you are getting just as excited as I am to see what is in store! Until next time,

Michelle

Adeline's Red Patent Traveler's Notebook

Hi my fairy friends!  It’s Adeline today, with my second project of the month with the "Hello Beautiful!" kit.  If you remember, last time I shared with you the set up of my ice blue planner.  Today it is time for my red patent traveler's notebook, which is just as perfect for the design of this collection.  This time I made two covers for my notebooks and some flag paper clips, which are so in fashion right now.  So let's discover my beautiful decorations inspired by the universe of Snow White.

I hope you liked this project! I'll be back soon with another post!

Kiss from France,
Adeline

Shaker Pockets with Solange

Hey crafty friends! It’s Solange with another super fun project using the amazing “Hello Beautiful!" kit.

These shakers can be used to decorate a gift, to use as embellishments in your projects, to give a gift card, or to just spruce up happy mail! These are super fun and easy to make and you can use your fuse tool or your sewing machine. 


To do this project all you’ll need are plastic sleeves which you can find at your local office supply store, fuse tool or sewing machine, a fun sequins mix and your “Hello Beautiful” kit! 
Just fuse around your image, add some sequins and then close it to create these super fun shakers!

To add more character, you can also add some ephemera pieces and trim to the outside which will take your shakers to the next level! 


I fussy cut some images out of the dashboards such as the bunny and the Snow White to create one of a kind decorative shakers. 


I can’t wait to see what you guys create and the amazing shakers you’ll make!